How to use the Relator Document Management System (DMS)
Overview
- The document management system contains a number of Content Collections which can have various purposes within the business.
- Your collections can be viewed via app-virtual-file-collections.php
- Note that the files in some of the Content Collections are managed automatically by other parts of the system.eg Invoices etc.
Dos And Don'ts
- Don't upload word documents, use the DMS HTML editor
- The DMS is not appropriate for spreadsheets except for archiving or one time use
To create a new DMS Document
- Navigate to the file collection to which you have permission.
- Click "New Document" on the right hand side above the grey bar about half way down the page.
- Enter a title for your document. Note that this will be used to generate a path
- Leave the "Private" checkbox ticked.
- Leave the Template set by default.
- Press Add
- You will be taken to a page entitled "Edit Dynamic HTML Content file xxxxx".
Editing DMS HTML Documents
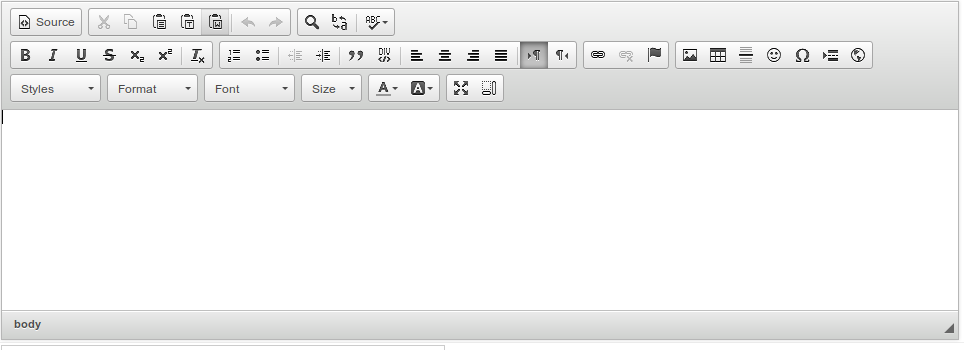
- Edit DMS HTML Documents is done using the CKEditor 4 HTML Content Editor
- Don't change the "Virtual Path" unless you know what you are doing as this can break inbound links from other documents both on Sonora and on the website.
- To paste in content created in Microsoft Word, click on the icon showing a "W" over a clipboard. Pasting images directly from Word can cause the editor to run very slowly.
- The editor and templating system are configured by default to honour your brand guidelines and house style. Please ensure you stick to them !
- Don't use the "B" Bold button to create headings. Use the "Headings" dropdown on the CKeditor. Gnerally you want to be using "Heading 3" as "Heading 1" is already used for the title.
1) Your document automatically uses ALL of the house style.
2) PDF documents are automatically generated with an indexed structure which makes them easy for customers (etc) to navigate.
- If you check the "PDF Enabled" checkbox, the system will automatically generate a PDF version of your document every time you make a change.
- If you check the "Log Page Access" checkbox then specific access to this page will be logged. Useful if you want to know who has seen a document.
Inserting Images Into DMS Documents
- Click on the "Add Image" button underneath the Content Editor on the right hand side:

- Click the browse button to upload an image. Accept all the defaults.
- Once uploaded, you will see that your image has been added to the list of Media.
- Place the cursor inside the CKeditor where you want to put the image, then use the "Place in content" link for the media item you wish to insert.
Assigning Permission to DMS Documents
The "Private" checkbox
- Checked: Only users with relevant permissions can access the file
- Unchecked: The entire internet can see the file
How to assign permissions for everyone in your company:
- Select the "Permissions" tab
- Click on the Green Plus button at the bottom right hand side of the permissions list
- From the list which appears, search and select your company.
- Use the checkboxes to select the access level granted (usually just the "Read" permission)
- Click "Add"


